AUSMLab.com Strapi Backend
Strapi Content Management Guide
This guide provides step-by-step instructions on how to add and manage various content types in Strapi, with an example of building a personal profile.
⚠️ Website implements a caching technique for faster loads; It will only reflect new changes in 1-minute interval ⚠️
Website Hosting
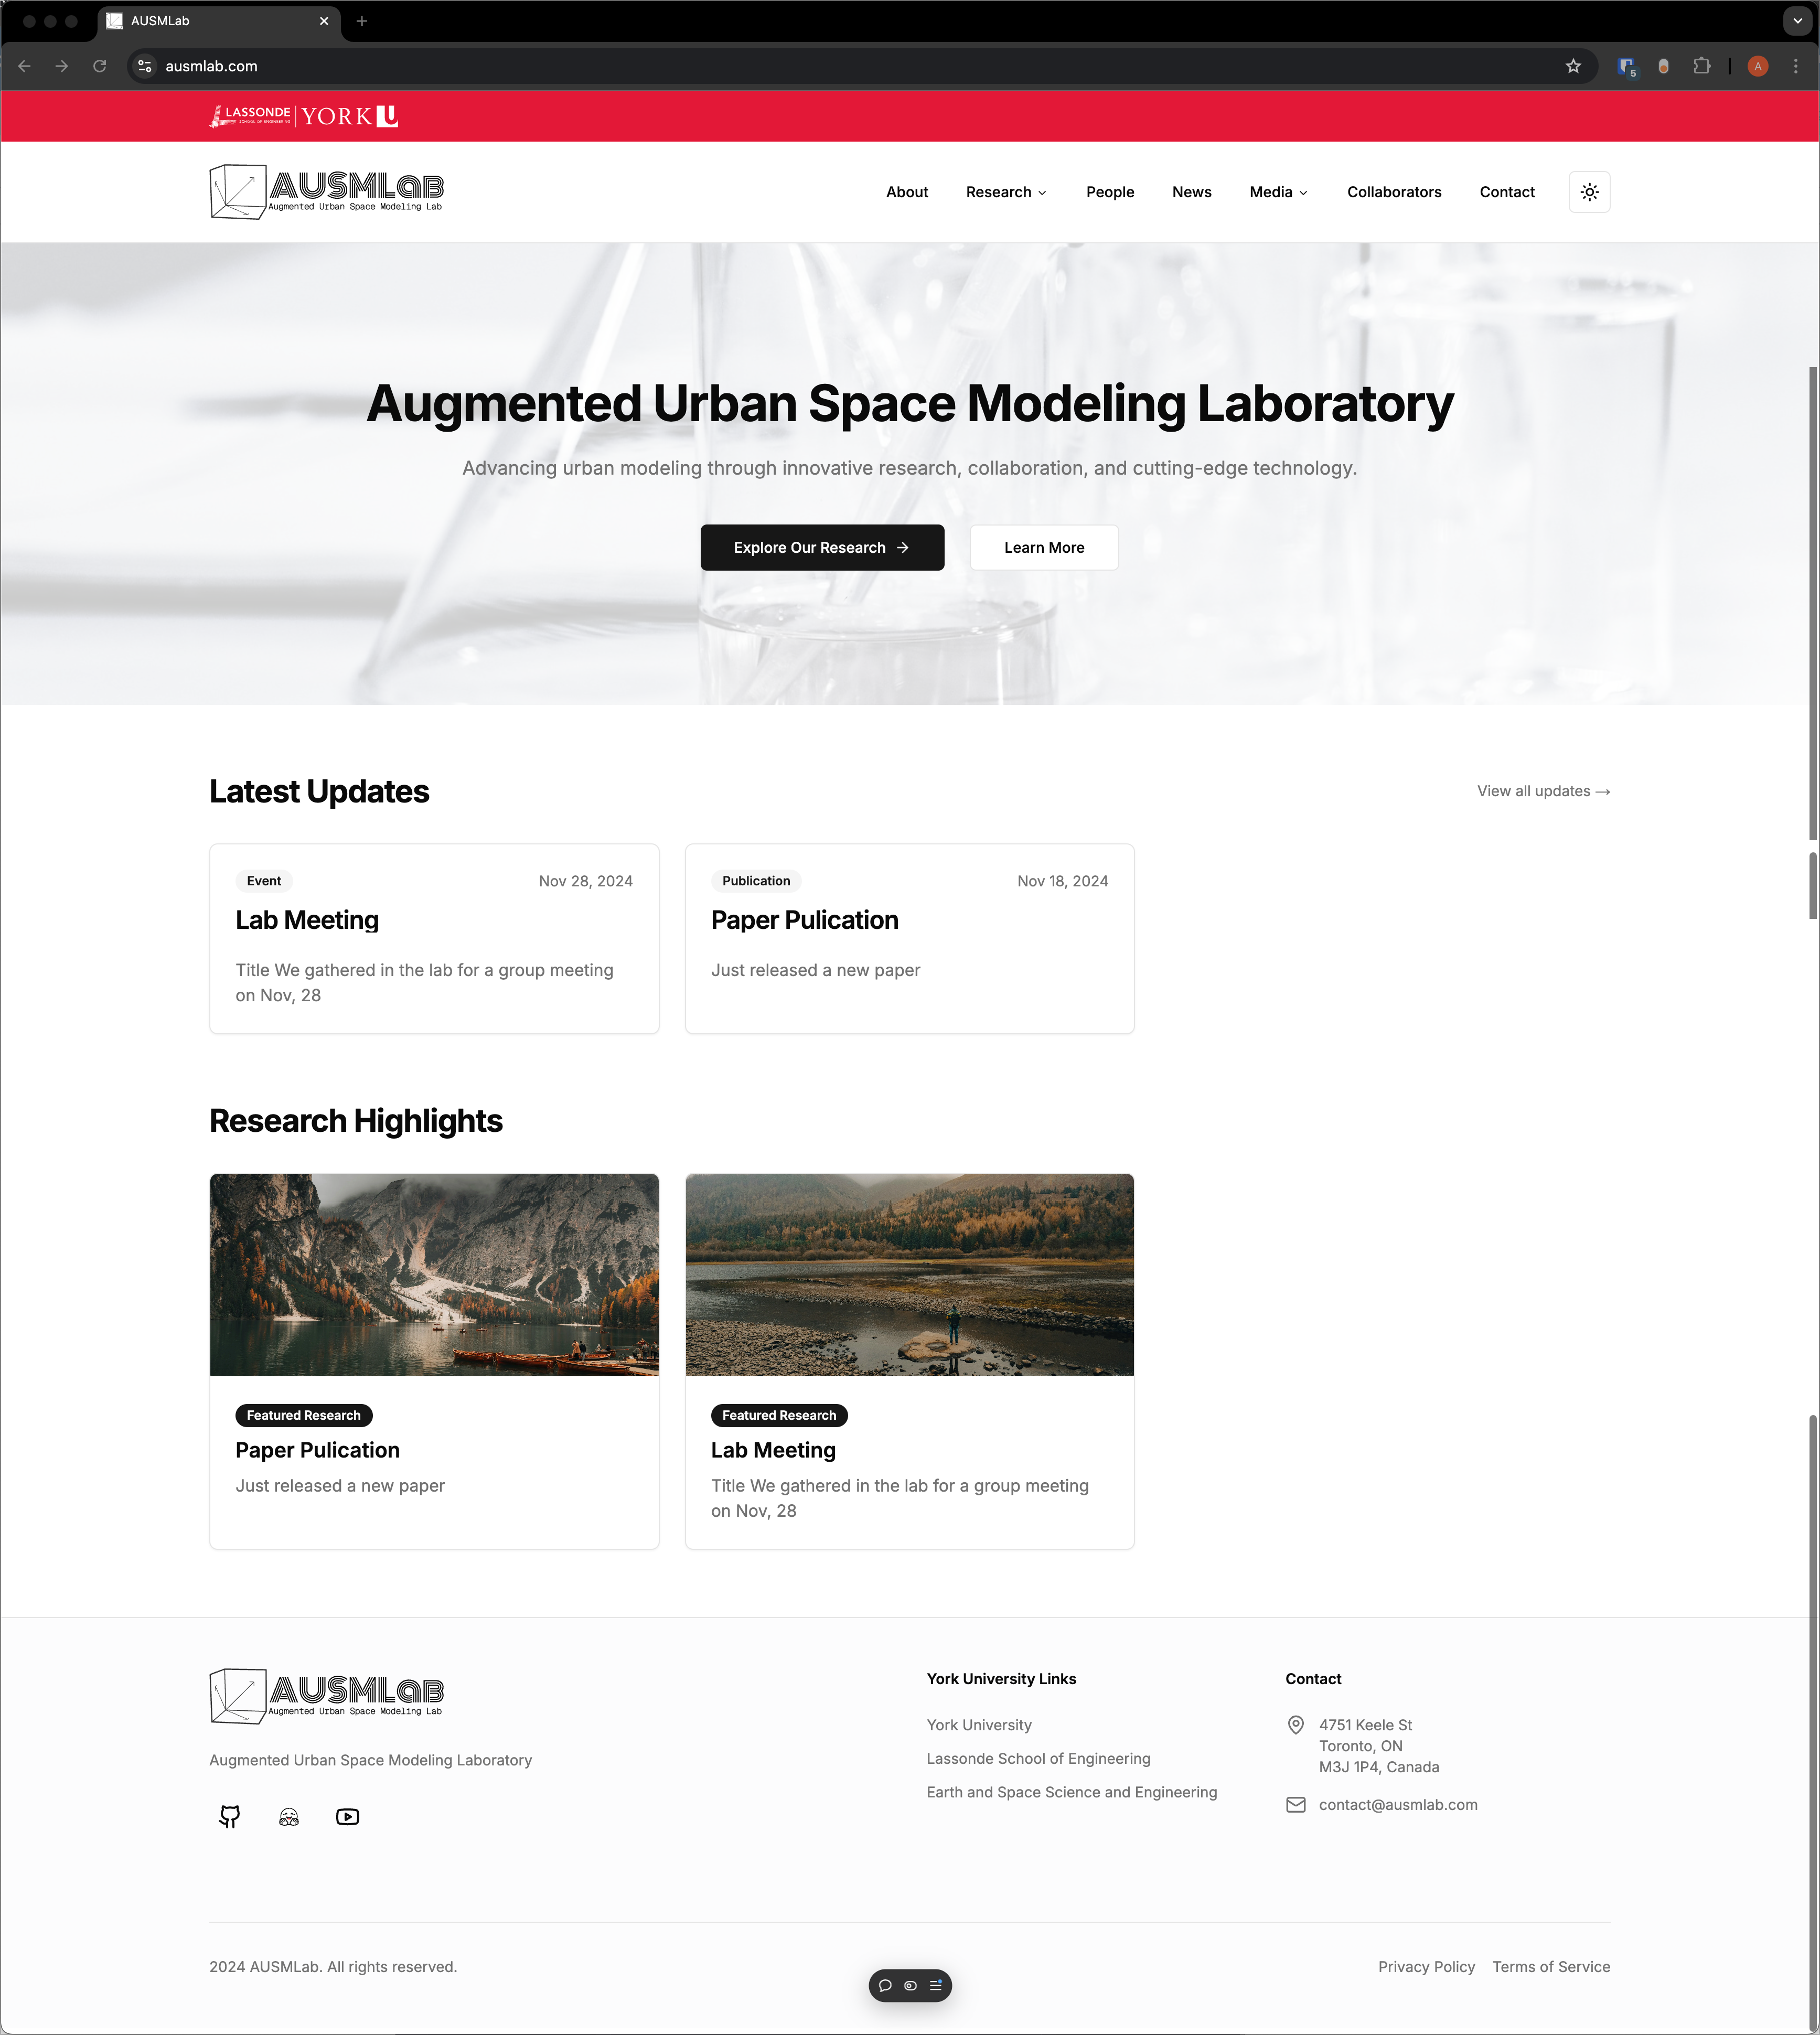
The AUSMLab website is hosted at https://ausmlab.com. Visit this site to explore the research, collaborators, publications, and updates.
Logging into Strapi
The Strapi dashboard can be accessed at https://admin.ausmlab.com.
Steps to Log In

Resetting Your Password
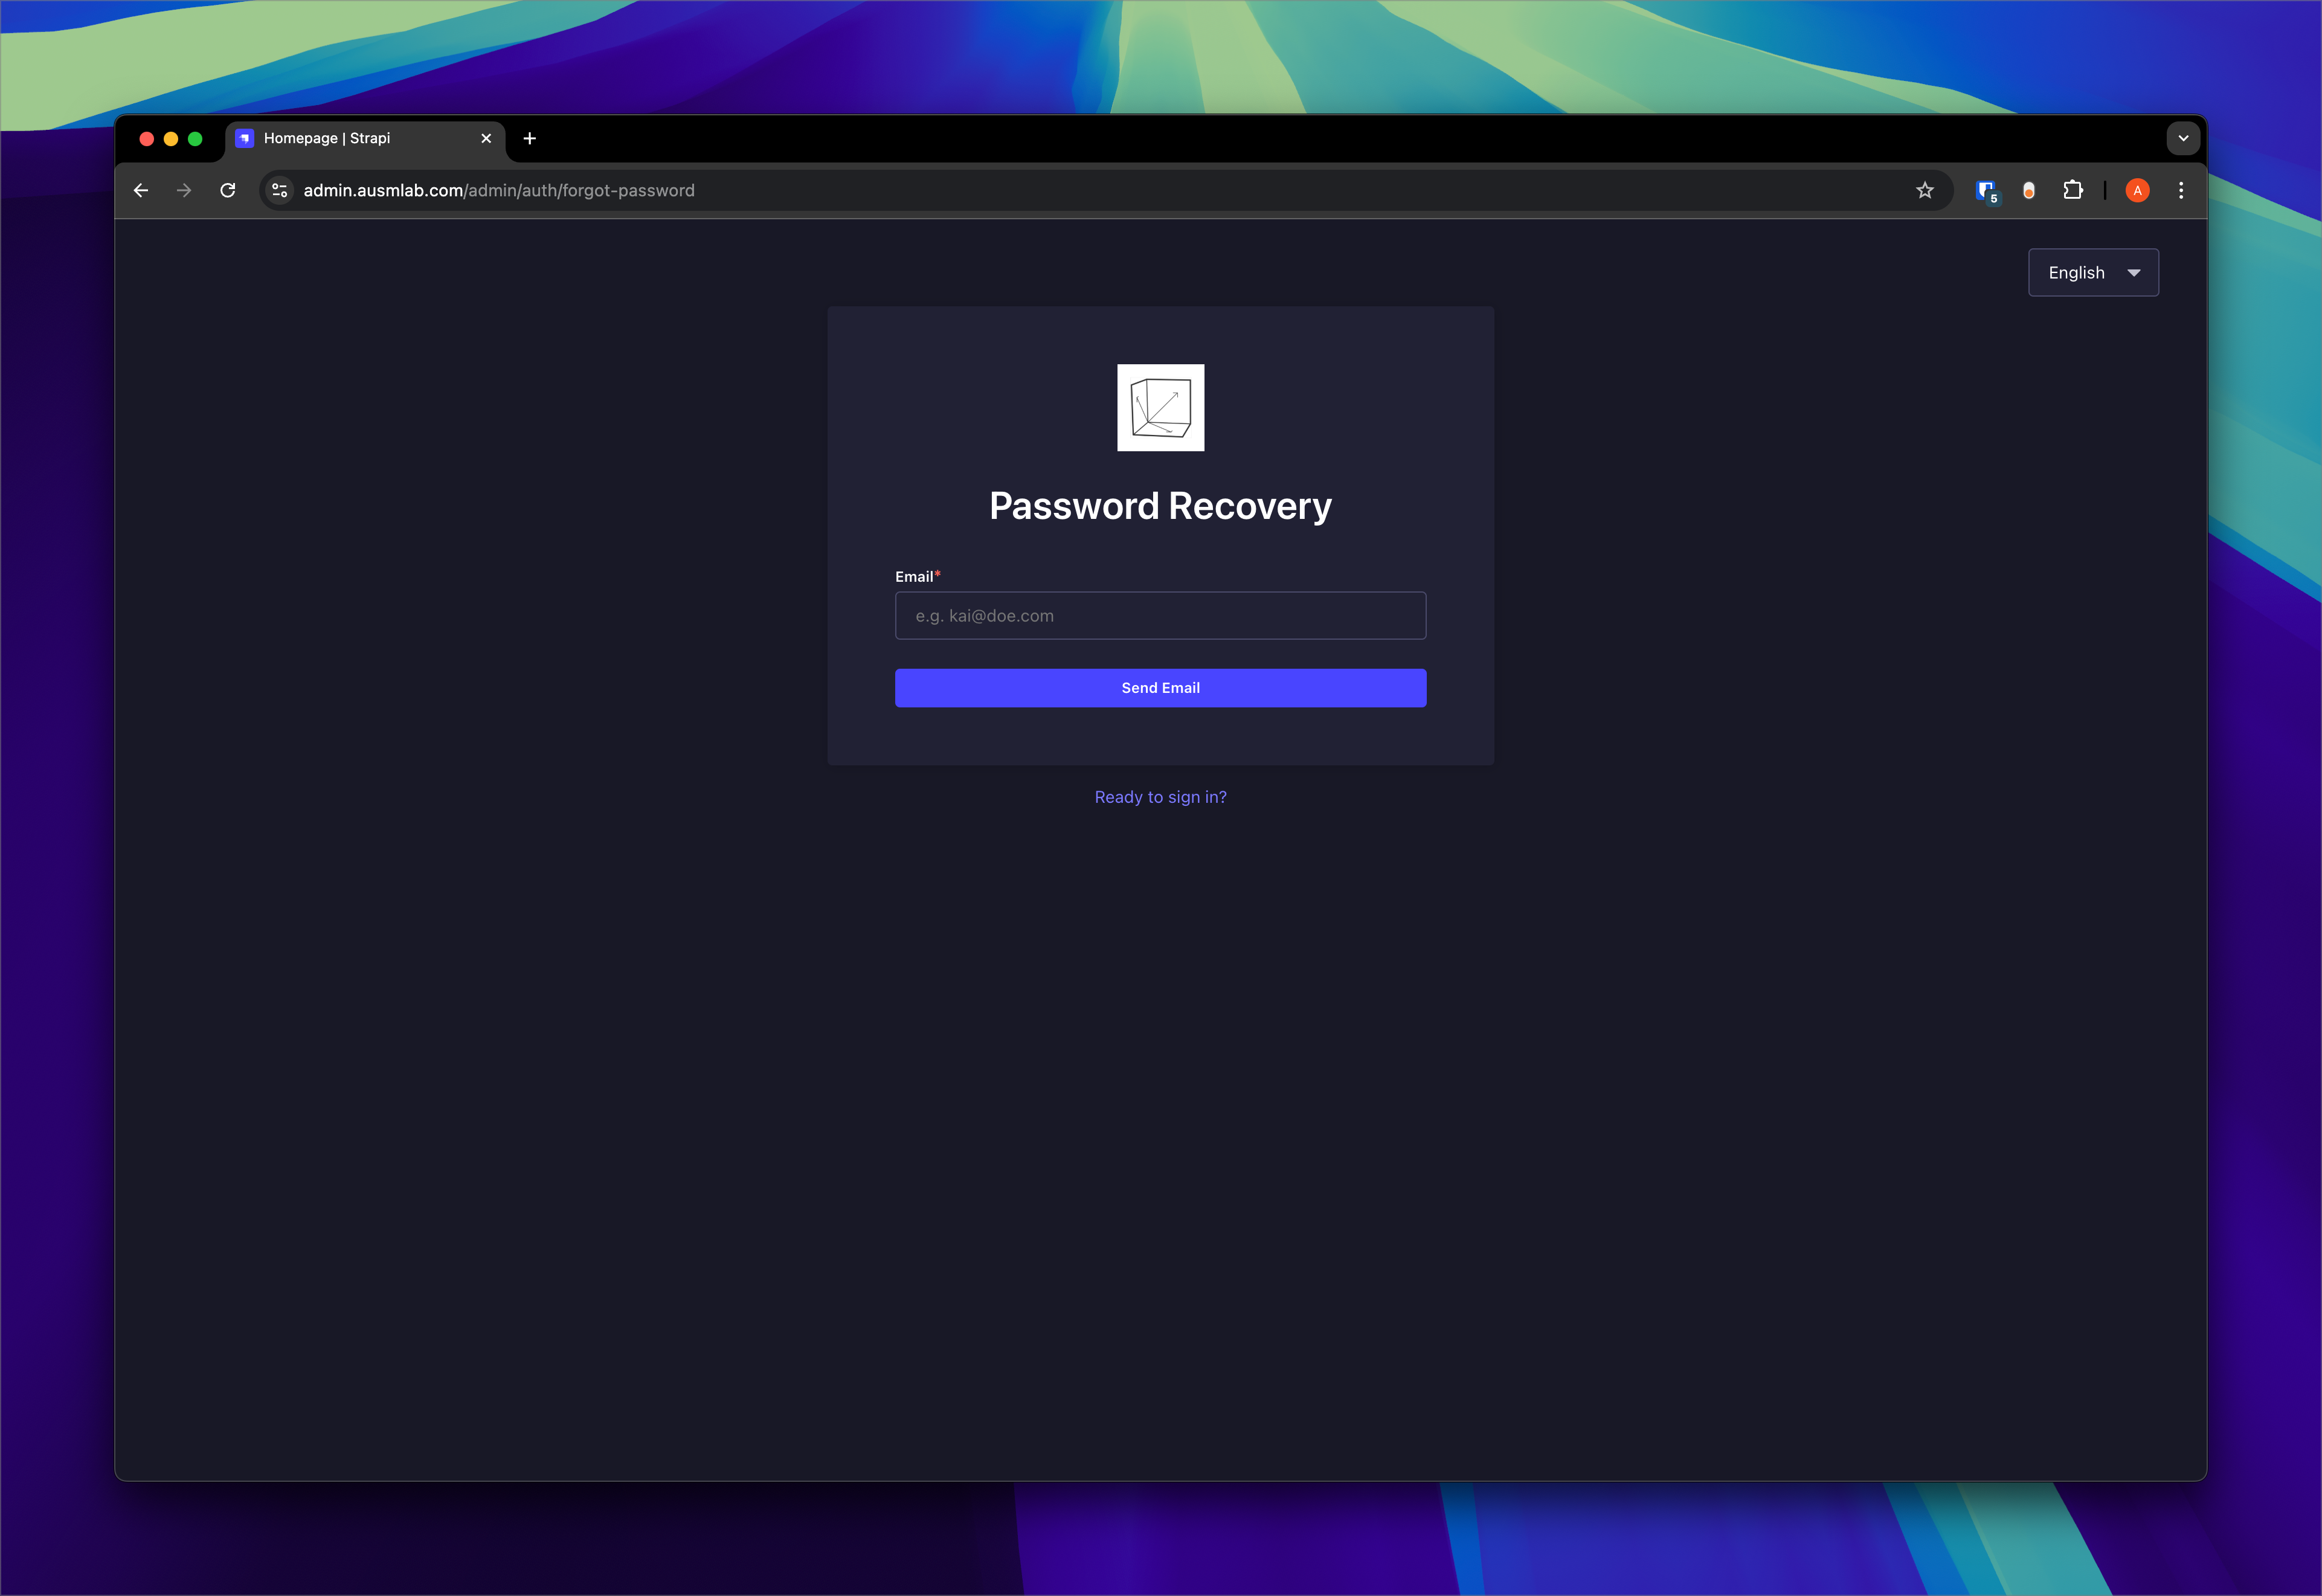
If you forget your password, follow these steps:
-
On the login page, click "Forgot your password?".
-
Enter your email address.
-
Click Send Email.
-
Check your email for a password recovery link and follow the instructions to reset your password.
General Steps for Adding Content
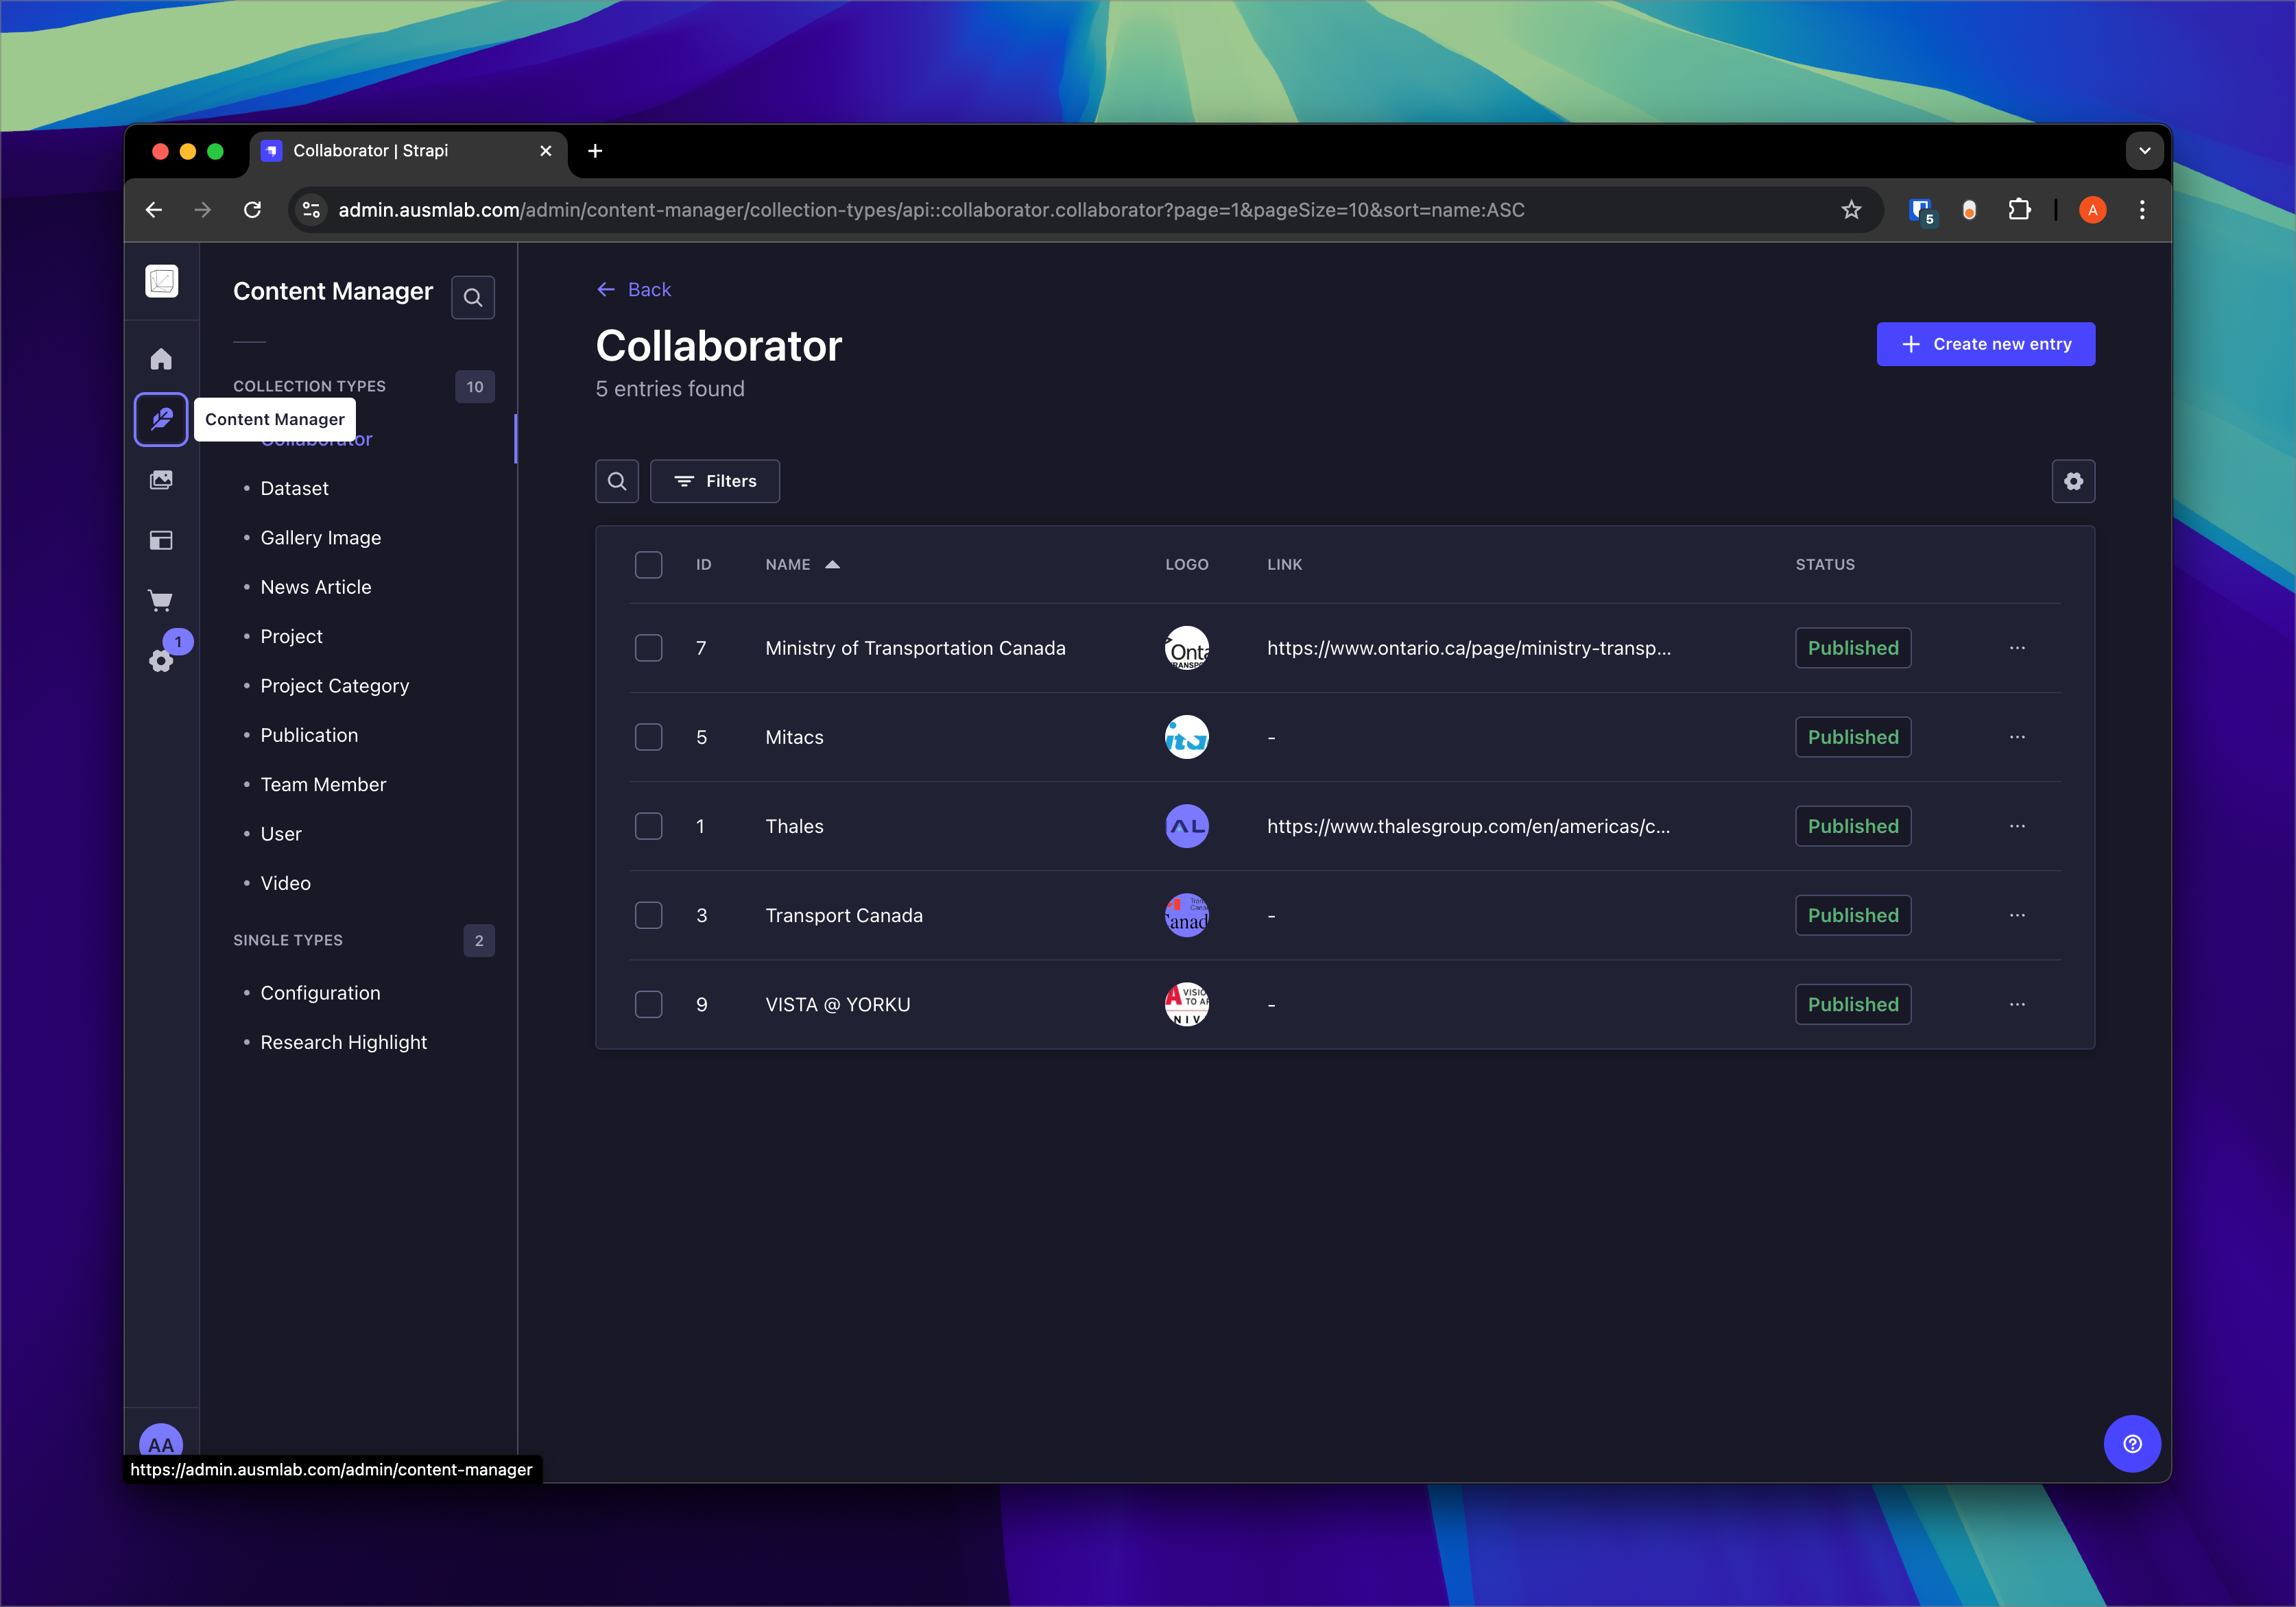
1. Navigate to the Content Manager
2. Select the Content Type
-
Click on the desired content type (e.g., Collaborator, Dataset, Gallery Image) from the sidebar.
3. Create a New Entry
-
Click the "Create new entry" button in the top right corner.
-
Fill in the fields provided in the entry form. Required fields are marked with asterisks (*).
4. Save or Publish the Entry
-
You can either "Save" the entry as a draft or "Publish" it to make it live.

Managing Media in Strapi
The Media Library allows you to manage all uploaded assets (e.g., images, videos, documents) used across the content types in Strapi.
Accessing the Media Library
Adding Media
-
Click on the "Add new assets" button in the top-right corner.
-
Drag and drop files into the upload area or click to browse and select files from your computer.
-
Once uploaded, the media files will appear in the Media Library.
Organizing Media
-
To create a new folder, click "Add new folder" in the top-right corner.
-
Enter the folder name (e.g., "Collaborators") and save.
-
Drag and drop media files into the appropriate folders for better organization.
Using Media in Content
-
While creating or editing an entry in the Content Manager, locate the media-related fields (e.g., "Logo," "Image," "Thumbnail").
-
Click the field to open the Media Library.
-
Select an existing asset or upload a new one directly from the Media Library interface.
-
Save or publish the entry to apply changes.
Deleting Media
-
Select the media asset(s) you want to delete by checking the box beside them.
-
Click the trash bin icon at the top of the Media Library interface.
-
Confirm the deletion. Note that deleting media will remove it from all entries where it is used.

Adding Content for Specific Types
Collaborator
-
Steps:
-
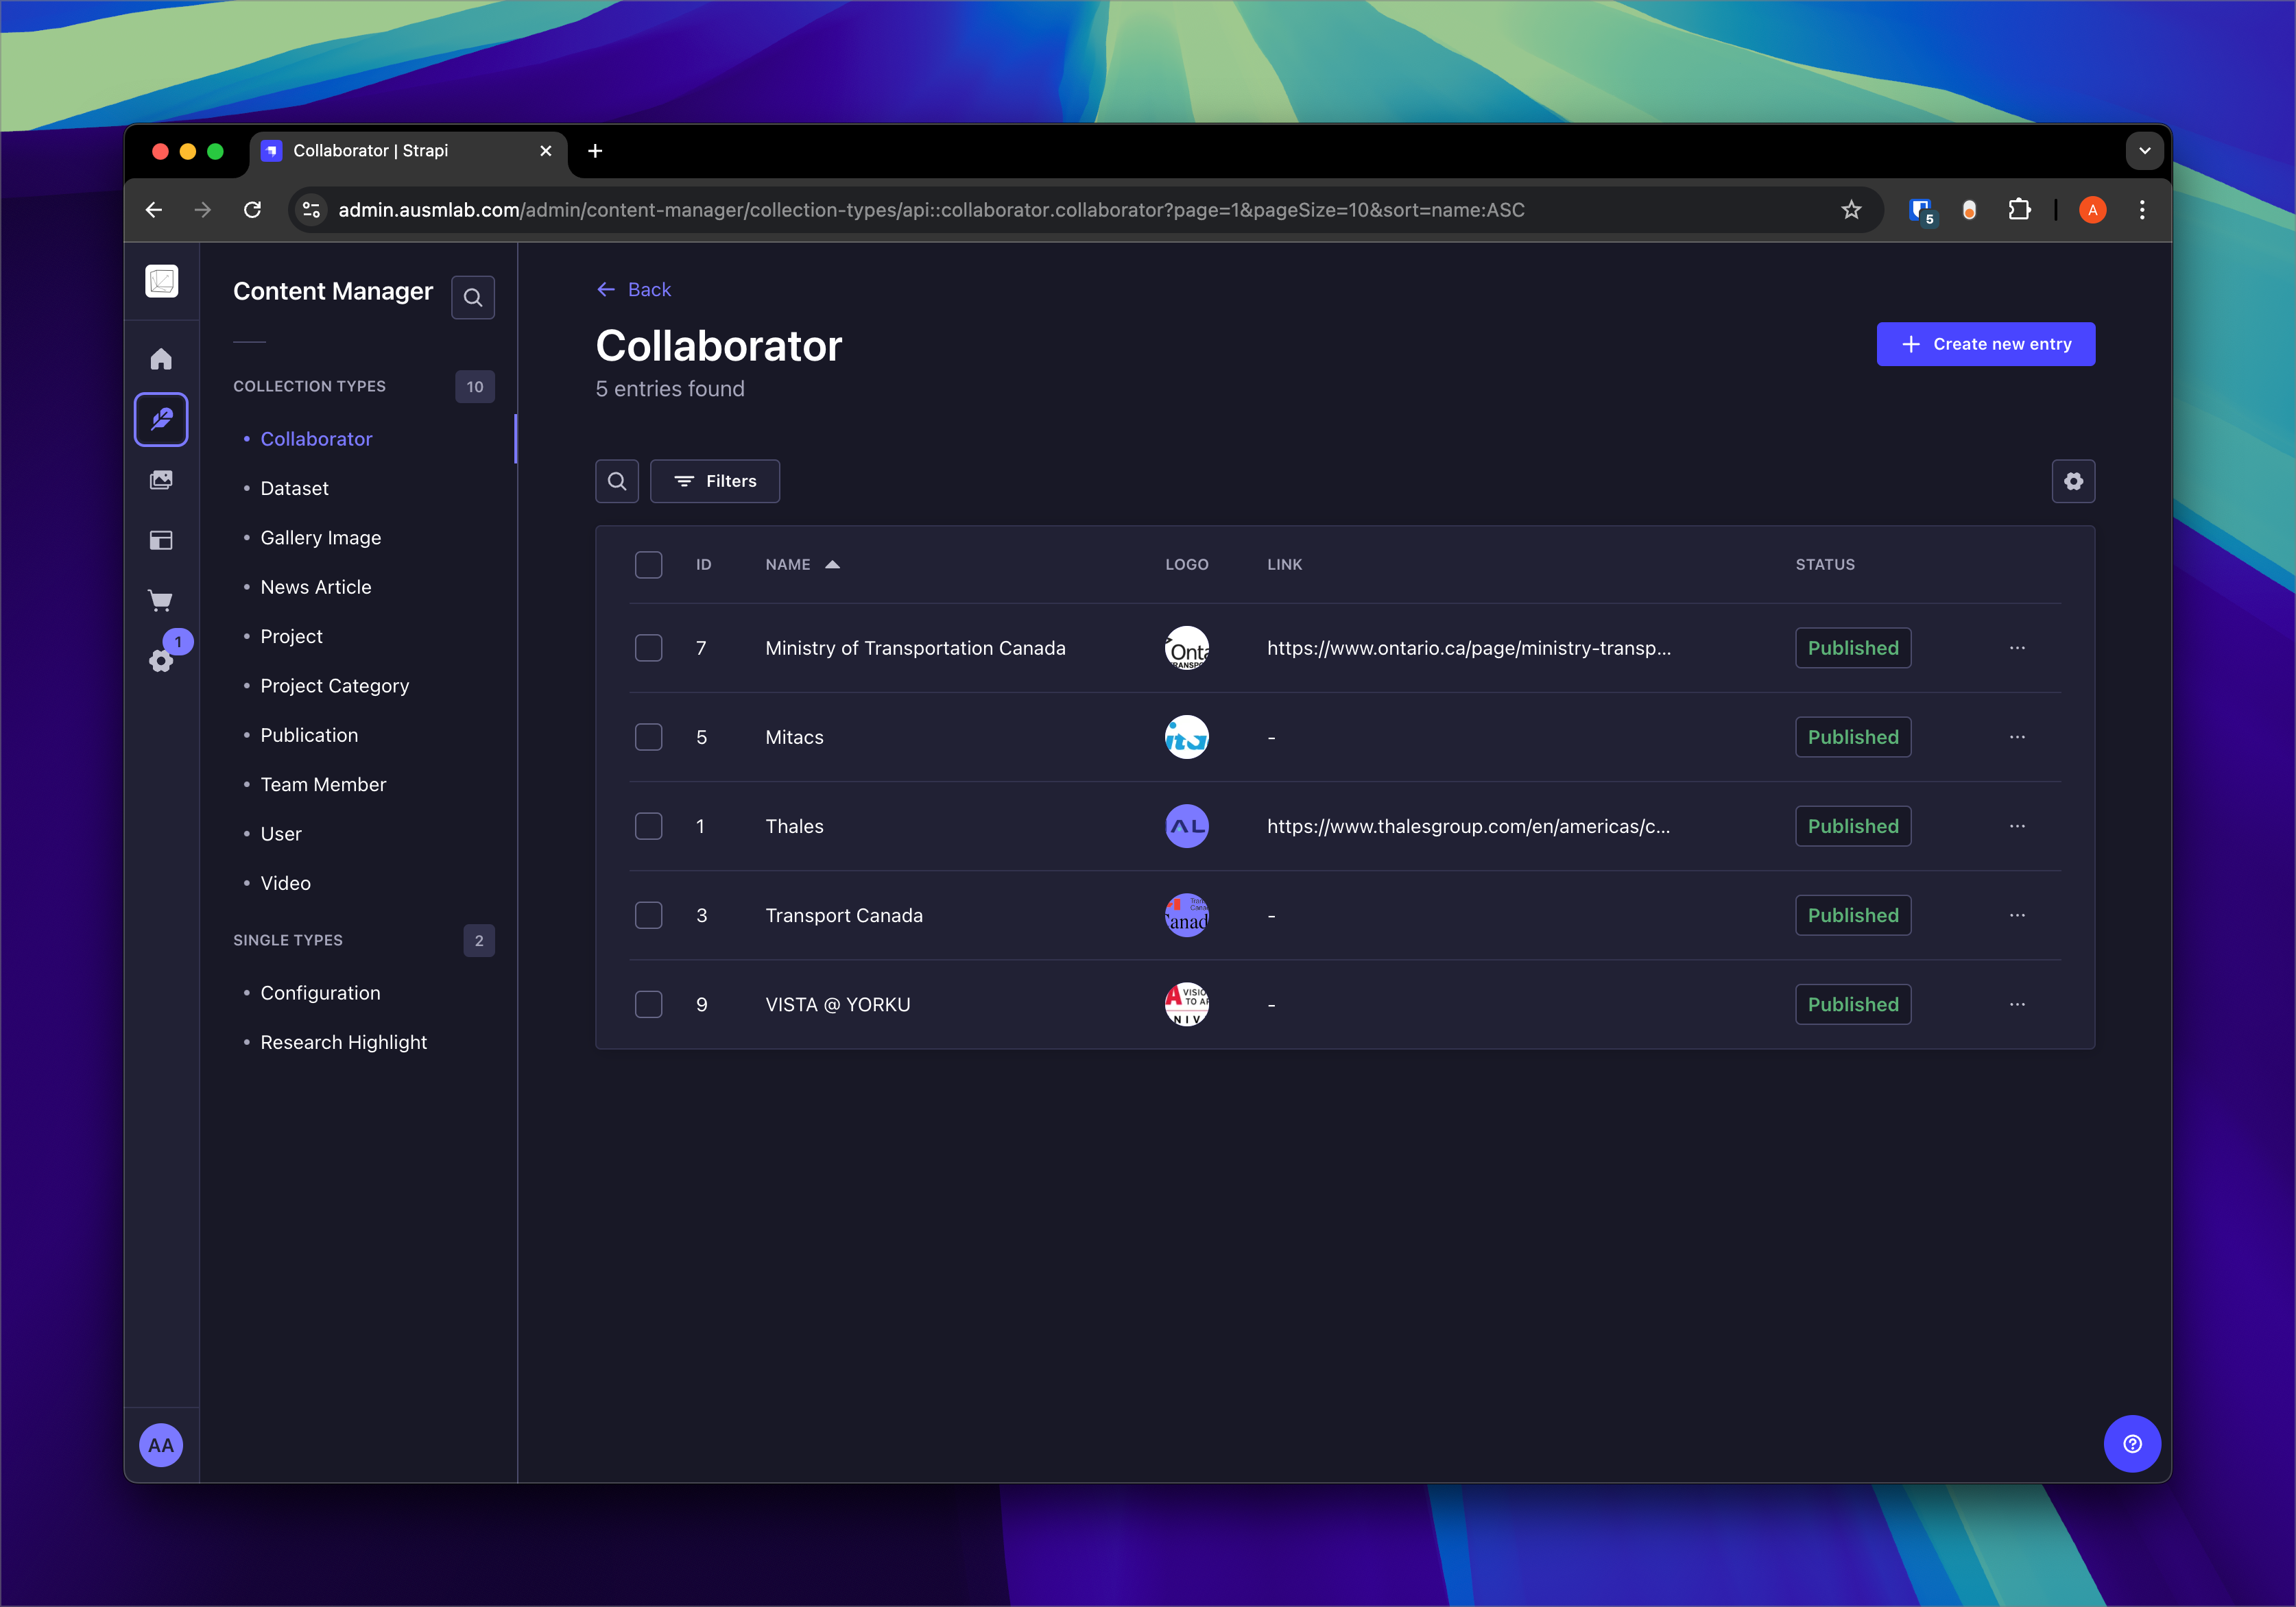
Go to Collaborator in the Content Manager.
-
Click Create new entry.
-
Fill in:
-
Name (e.g., "Ministry of Transportation Canada").
-
Logo (upload an image file).
-
Link (provide the URL).
-
-
Click Publish to save and make it visible.
-
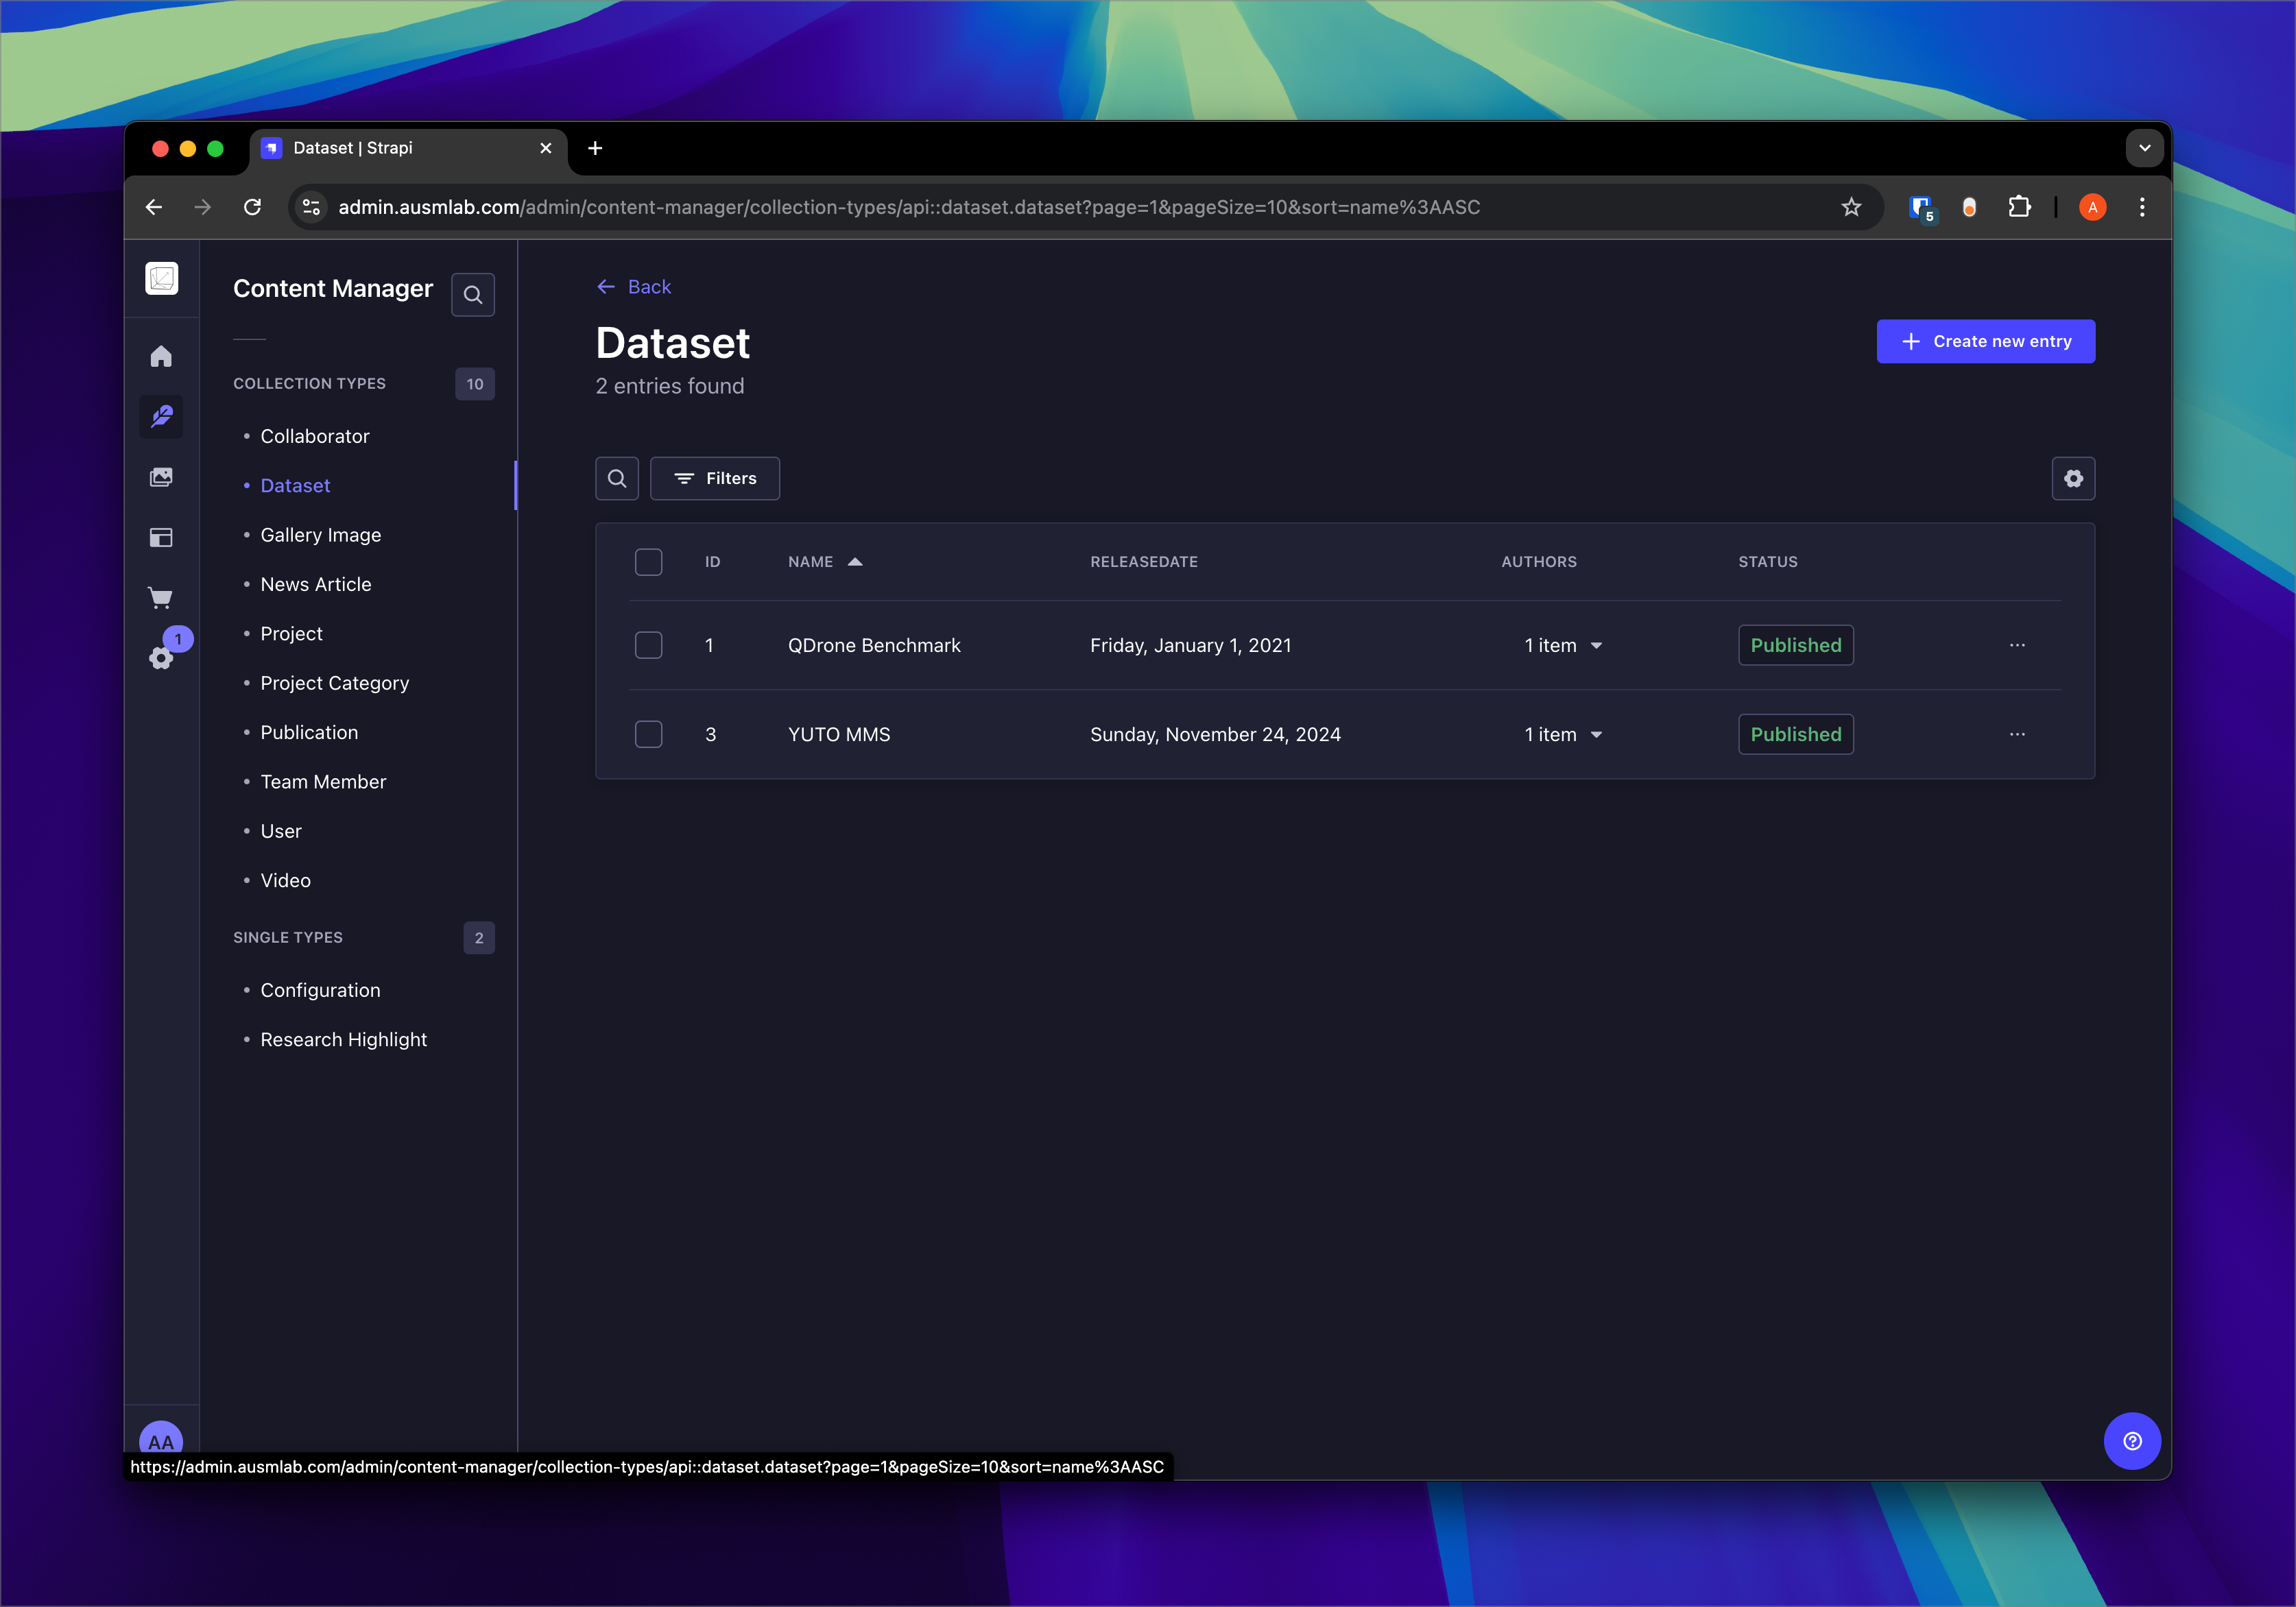
Dataset
-
Steps:
-
Select Dataset from the Content Manager.
-
Click Create new entry.
-
Fill in:
-
Name (e.g., "QDrone Benchmark").
-
Release Date (select from the date picker).
-
Authors (add related authors).
-
-
Save or publish as needed.
-
Gallery Image
-
Steps:
-
Open Gallery Image in the Content Manager.
-
Click Create new entry.
-
Fill in:
-
Title (e.g., "Lab Party").
-
Category (e.g., "Research Activities").
-
Date (set the event date).
-
-
Publish the entry when ready.
-

News Article
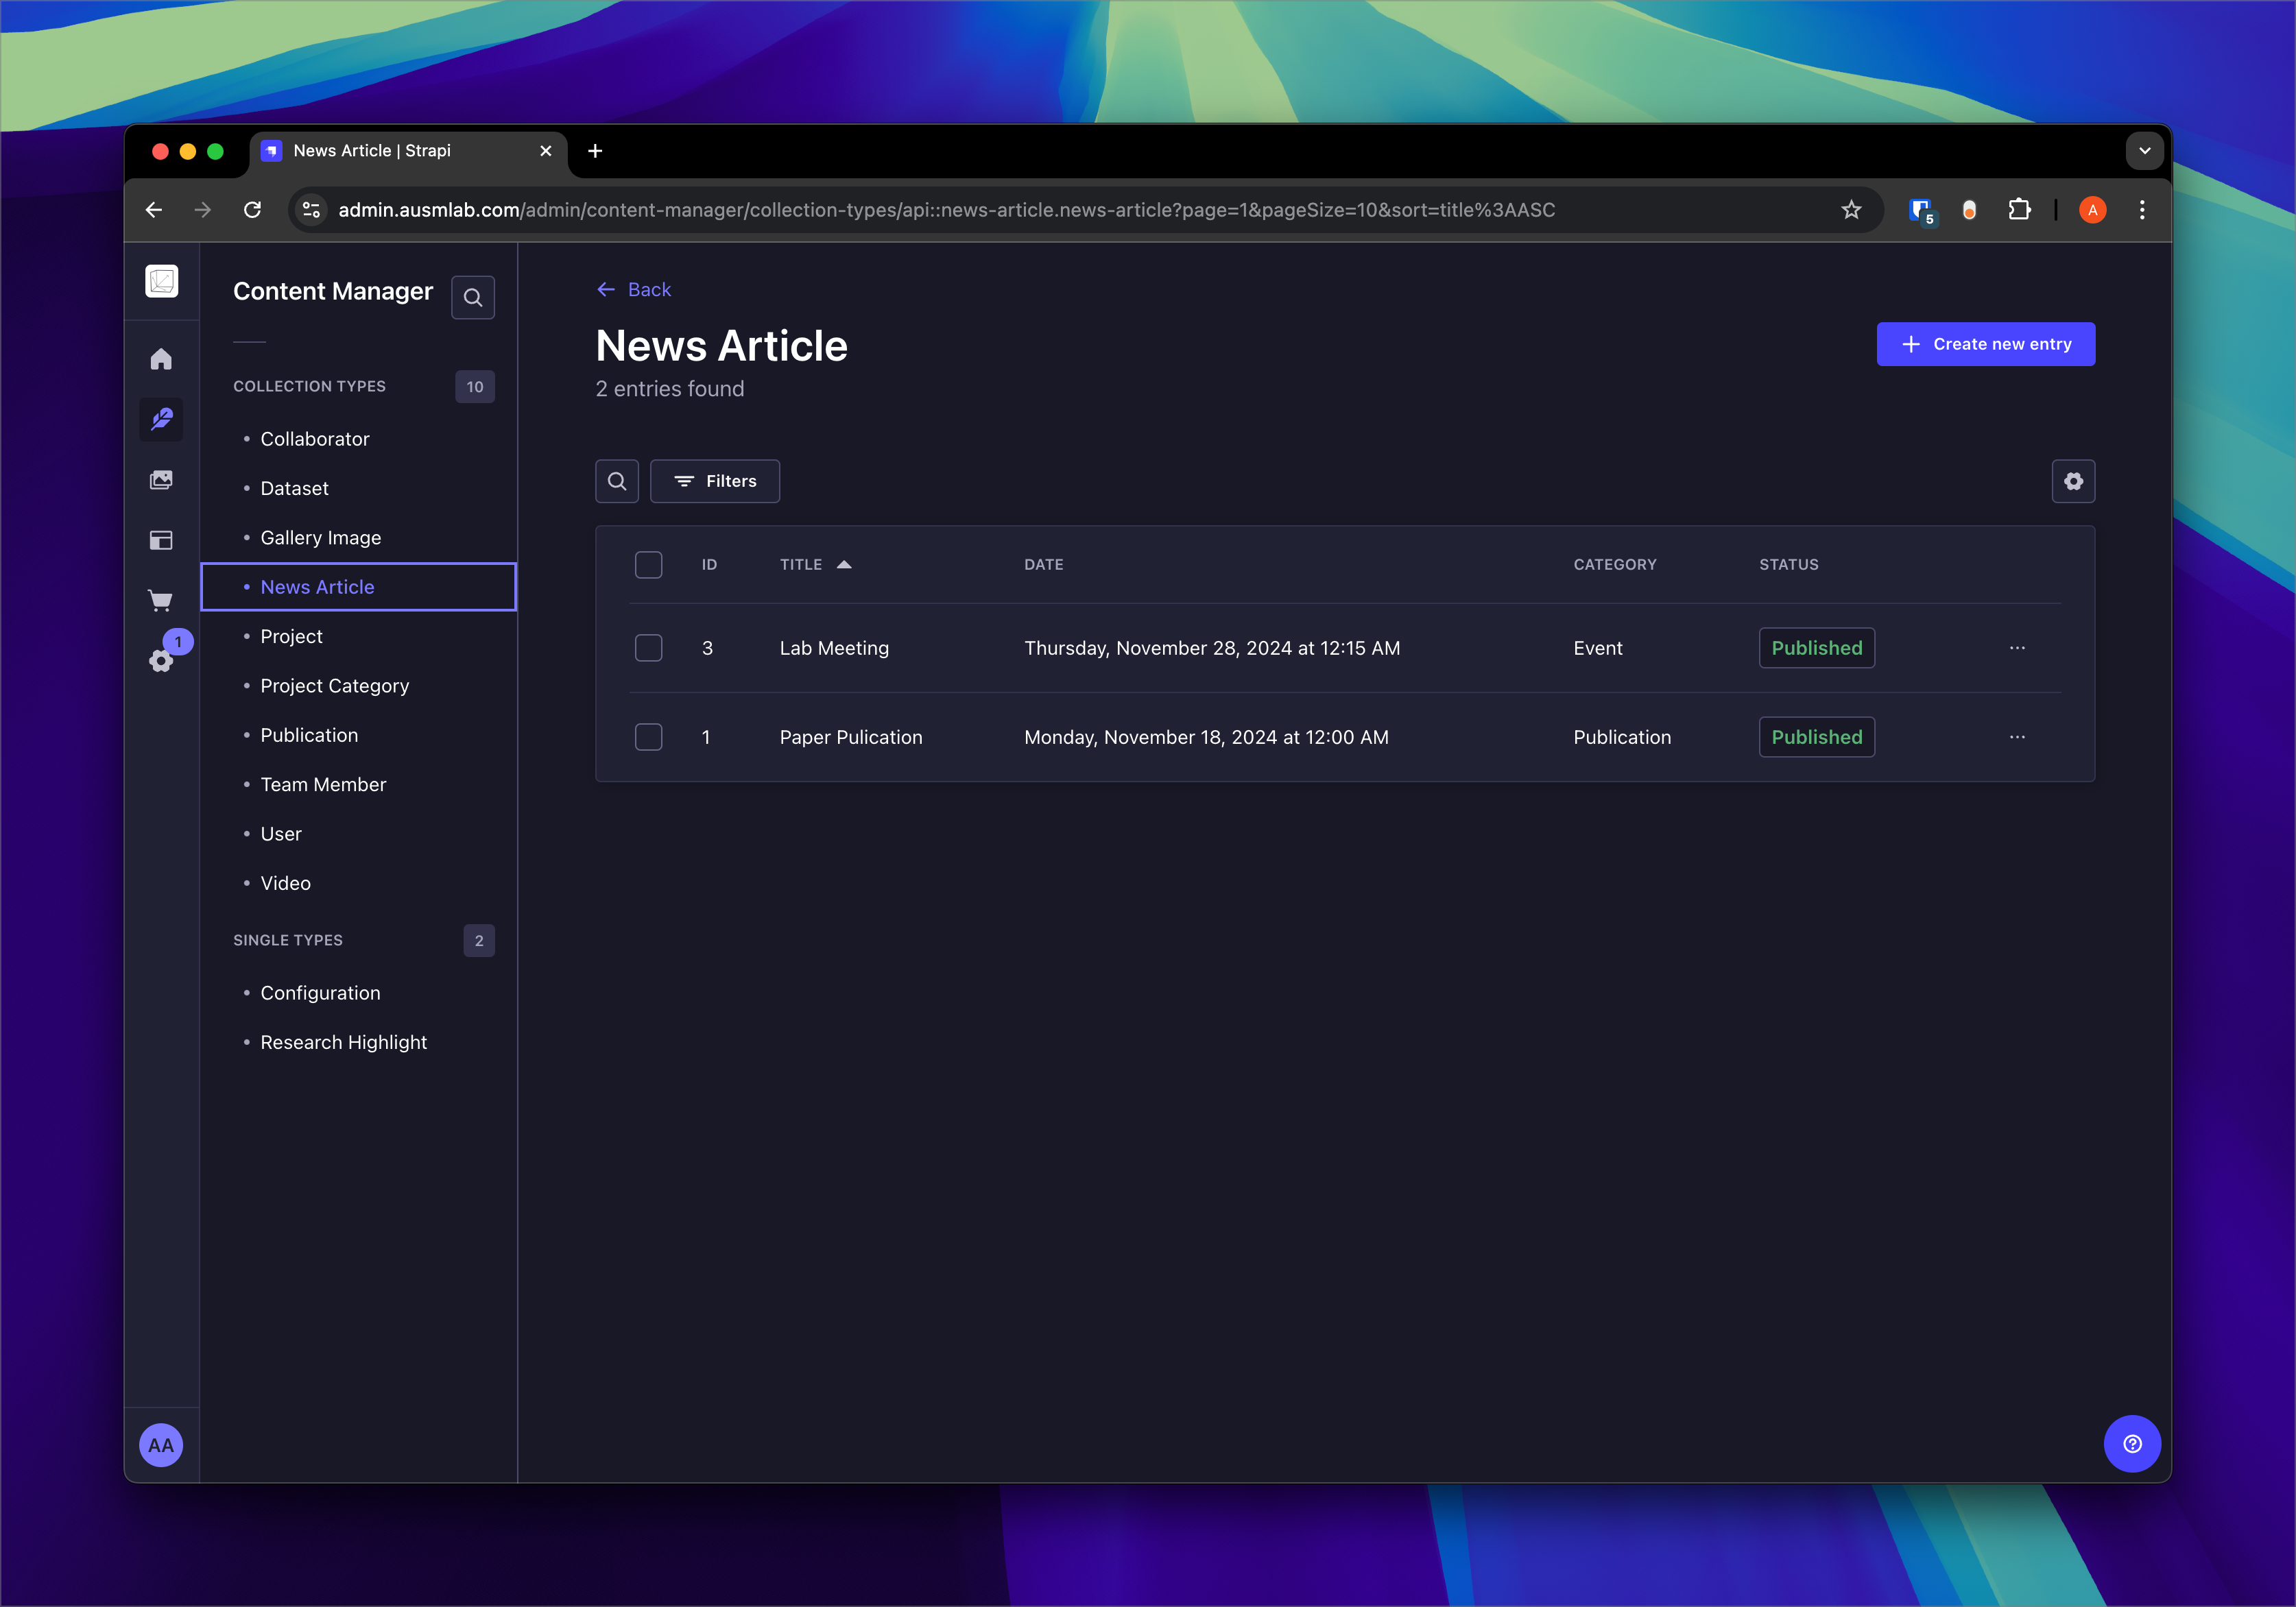
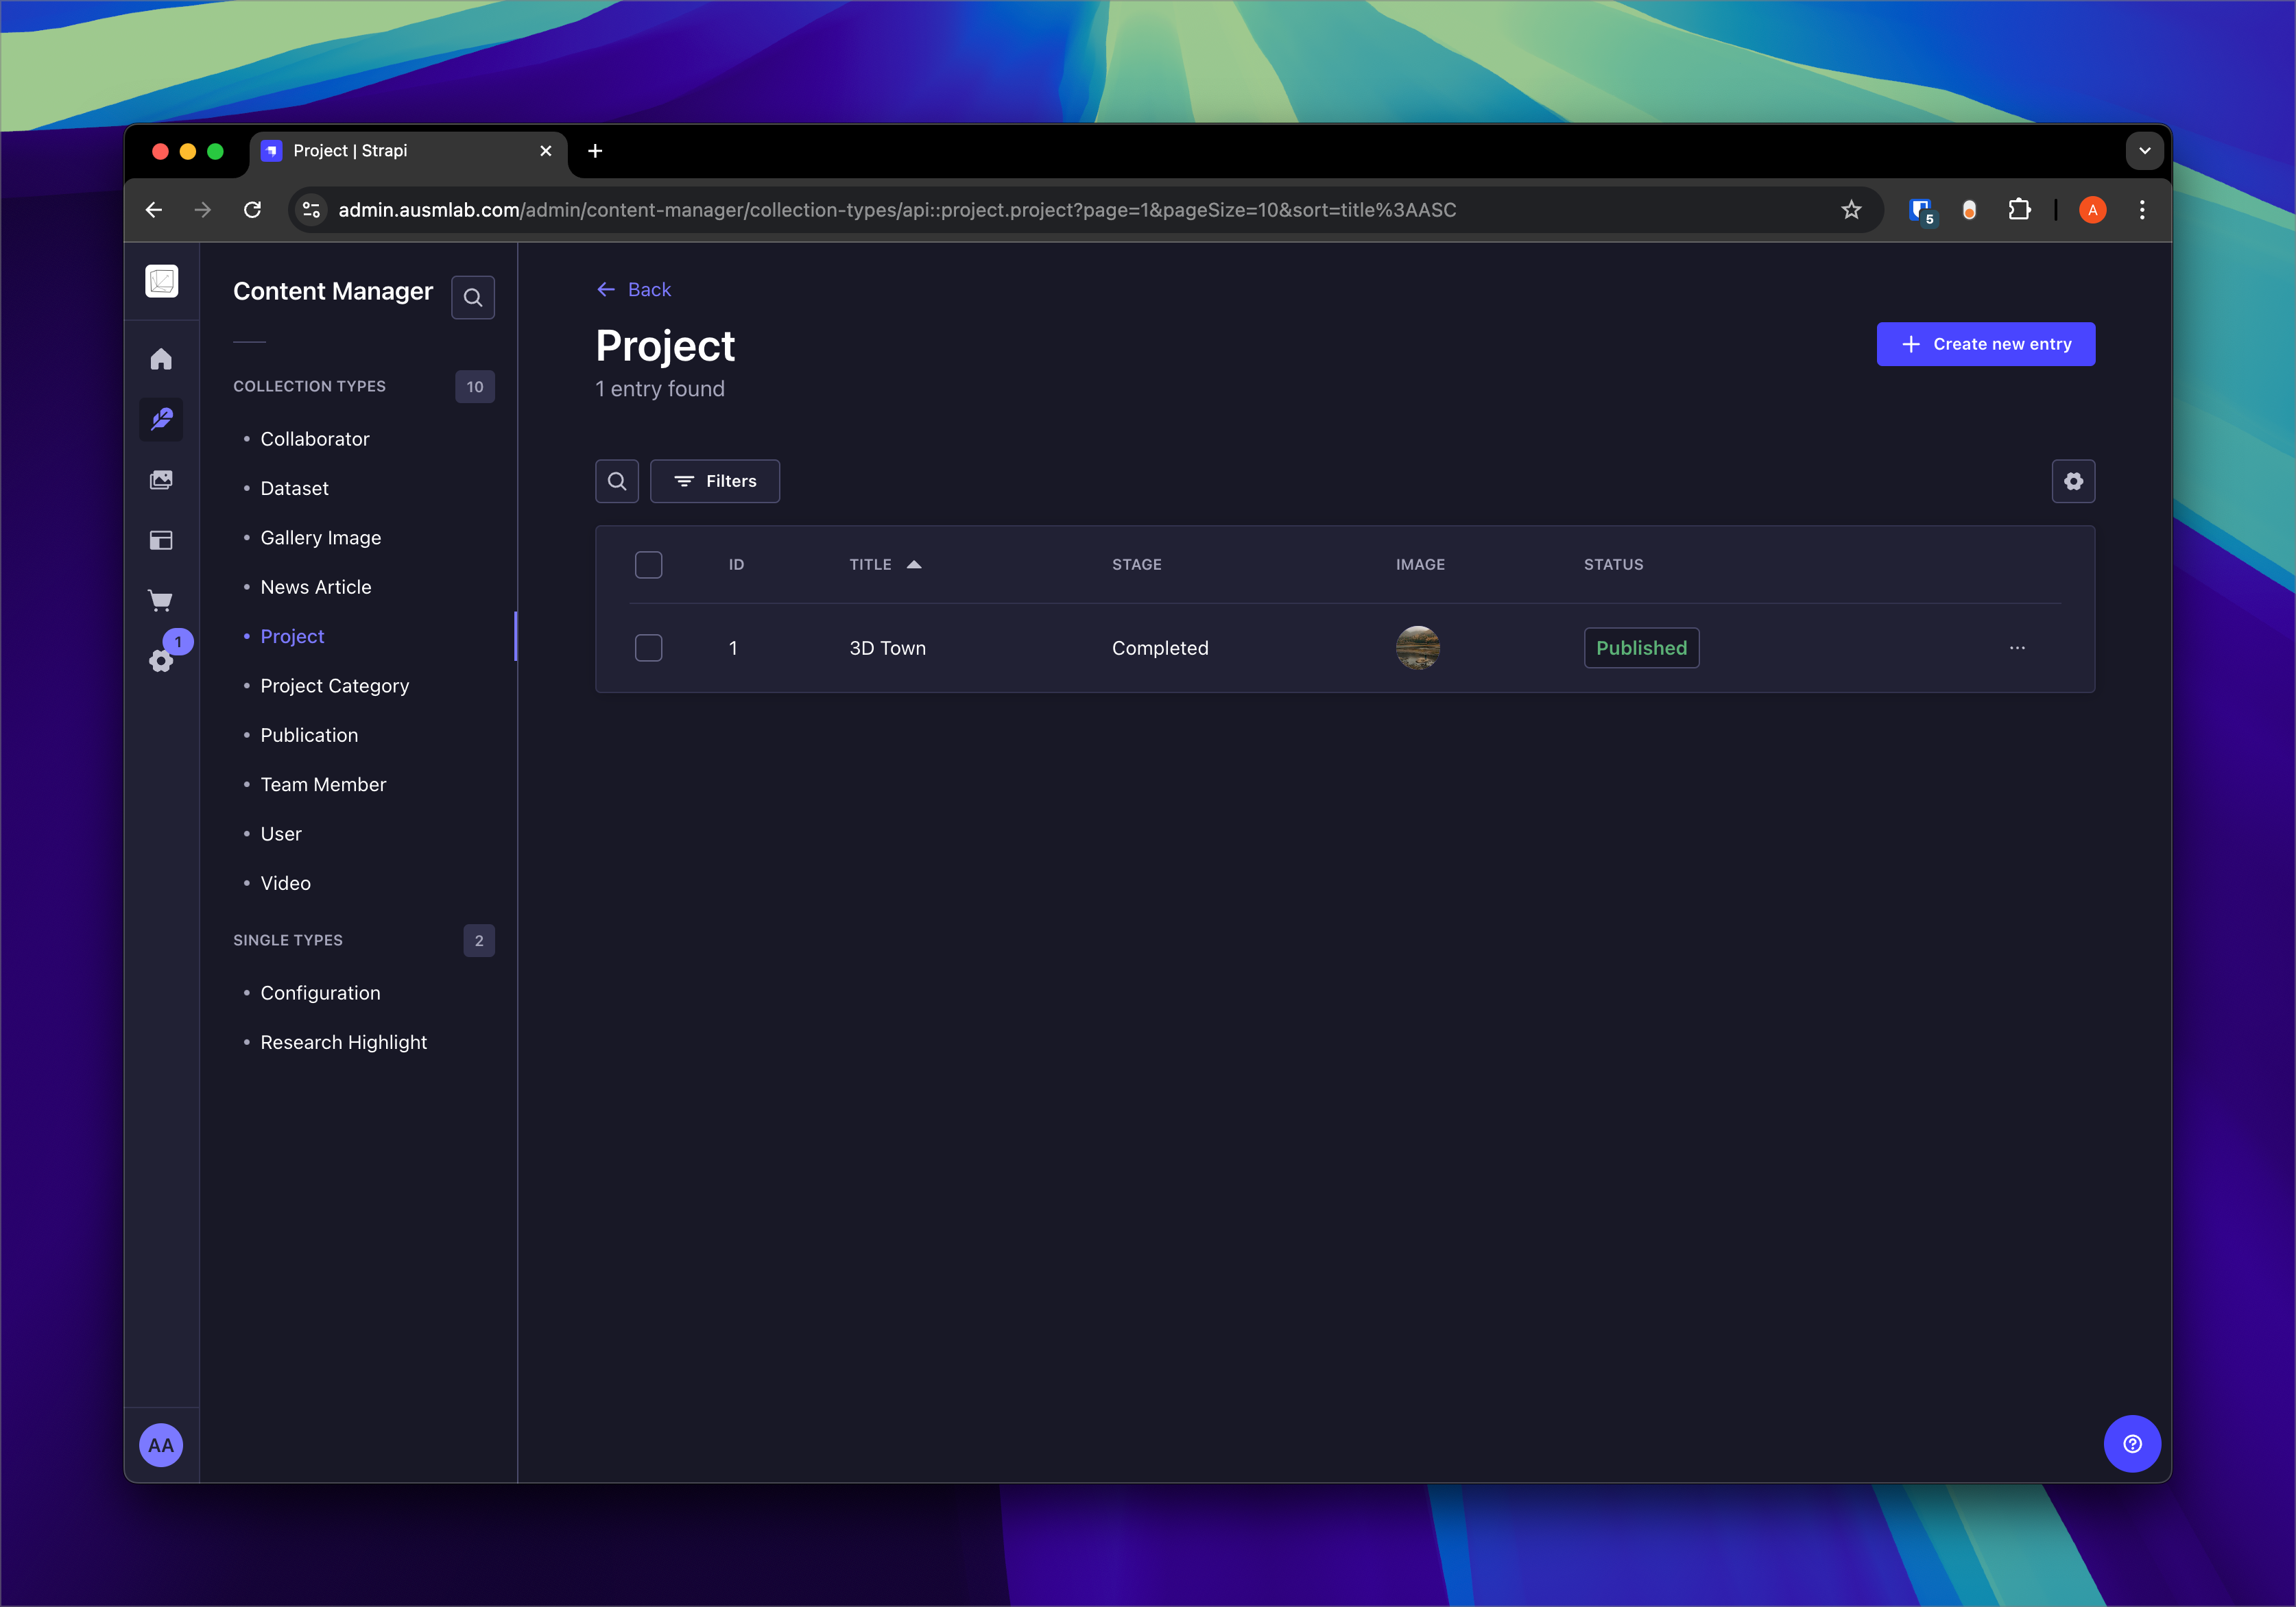
Project
-
Steps:
-
Select Project in the Content Manager.
-
Click Create new entry.
-
Fill in:
-
Title (e.g., "3D Town").
-
Stage (e.g., "Completed").
-
Image (upload an associated image).
-
-
Publish the project.
-
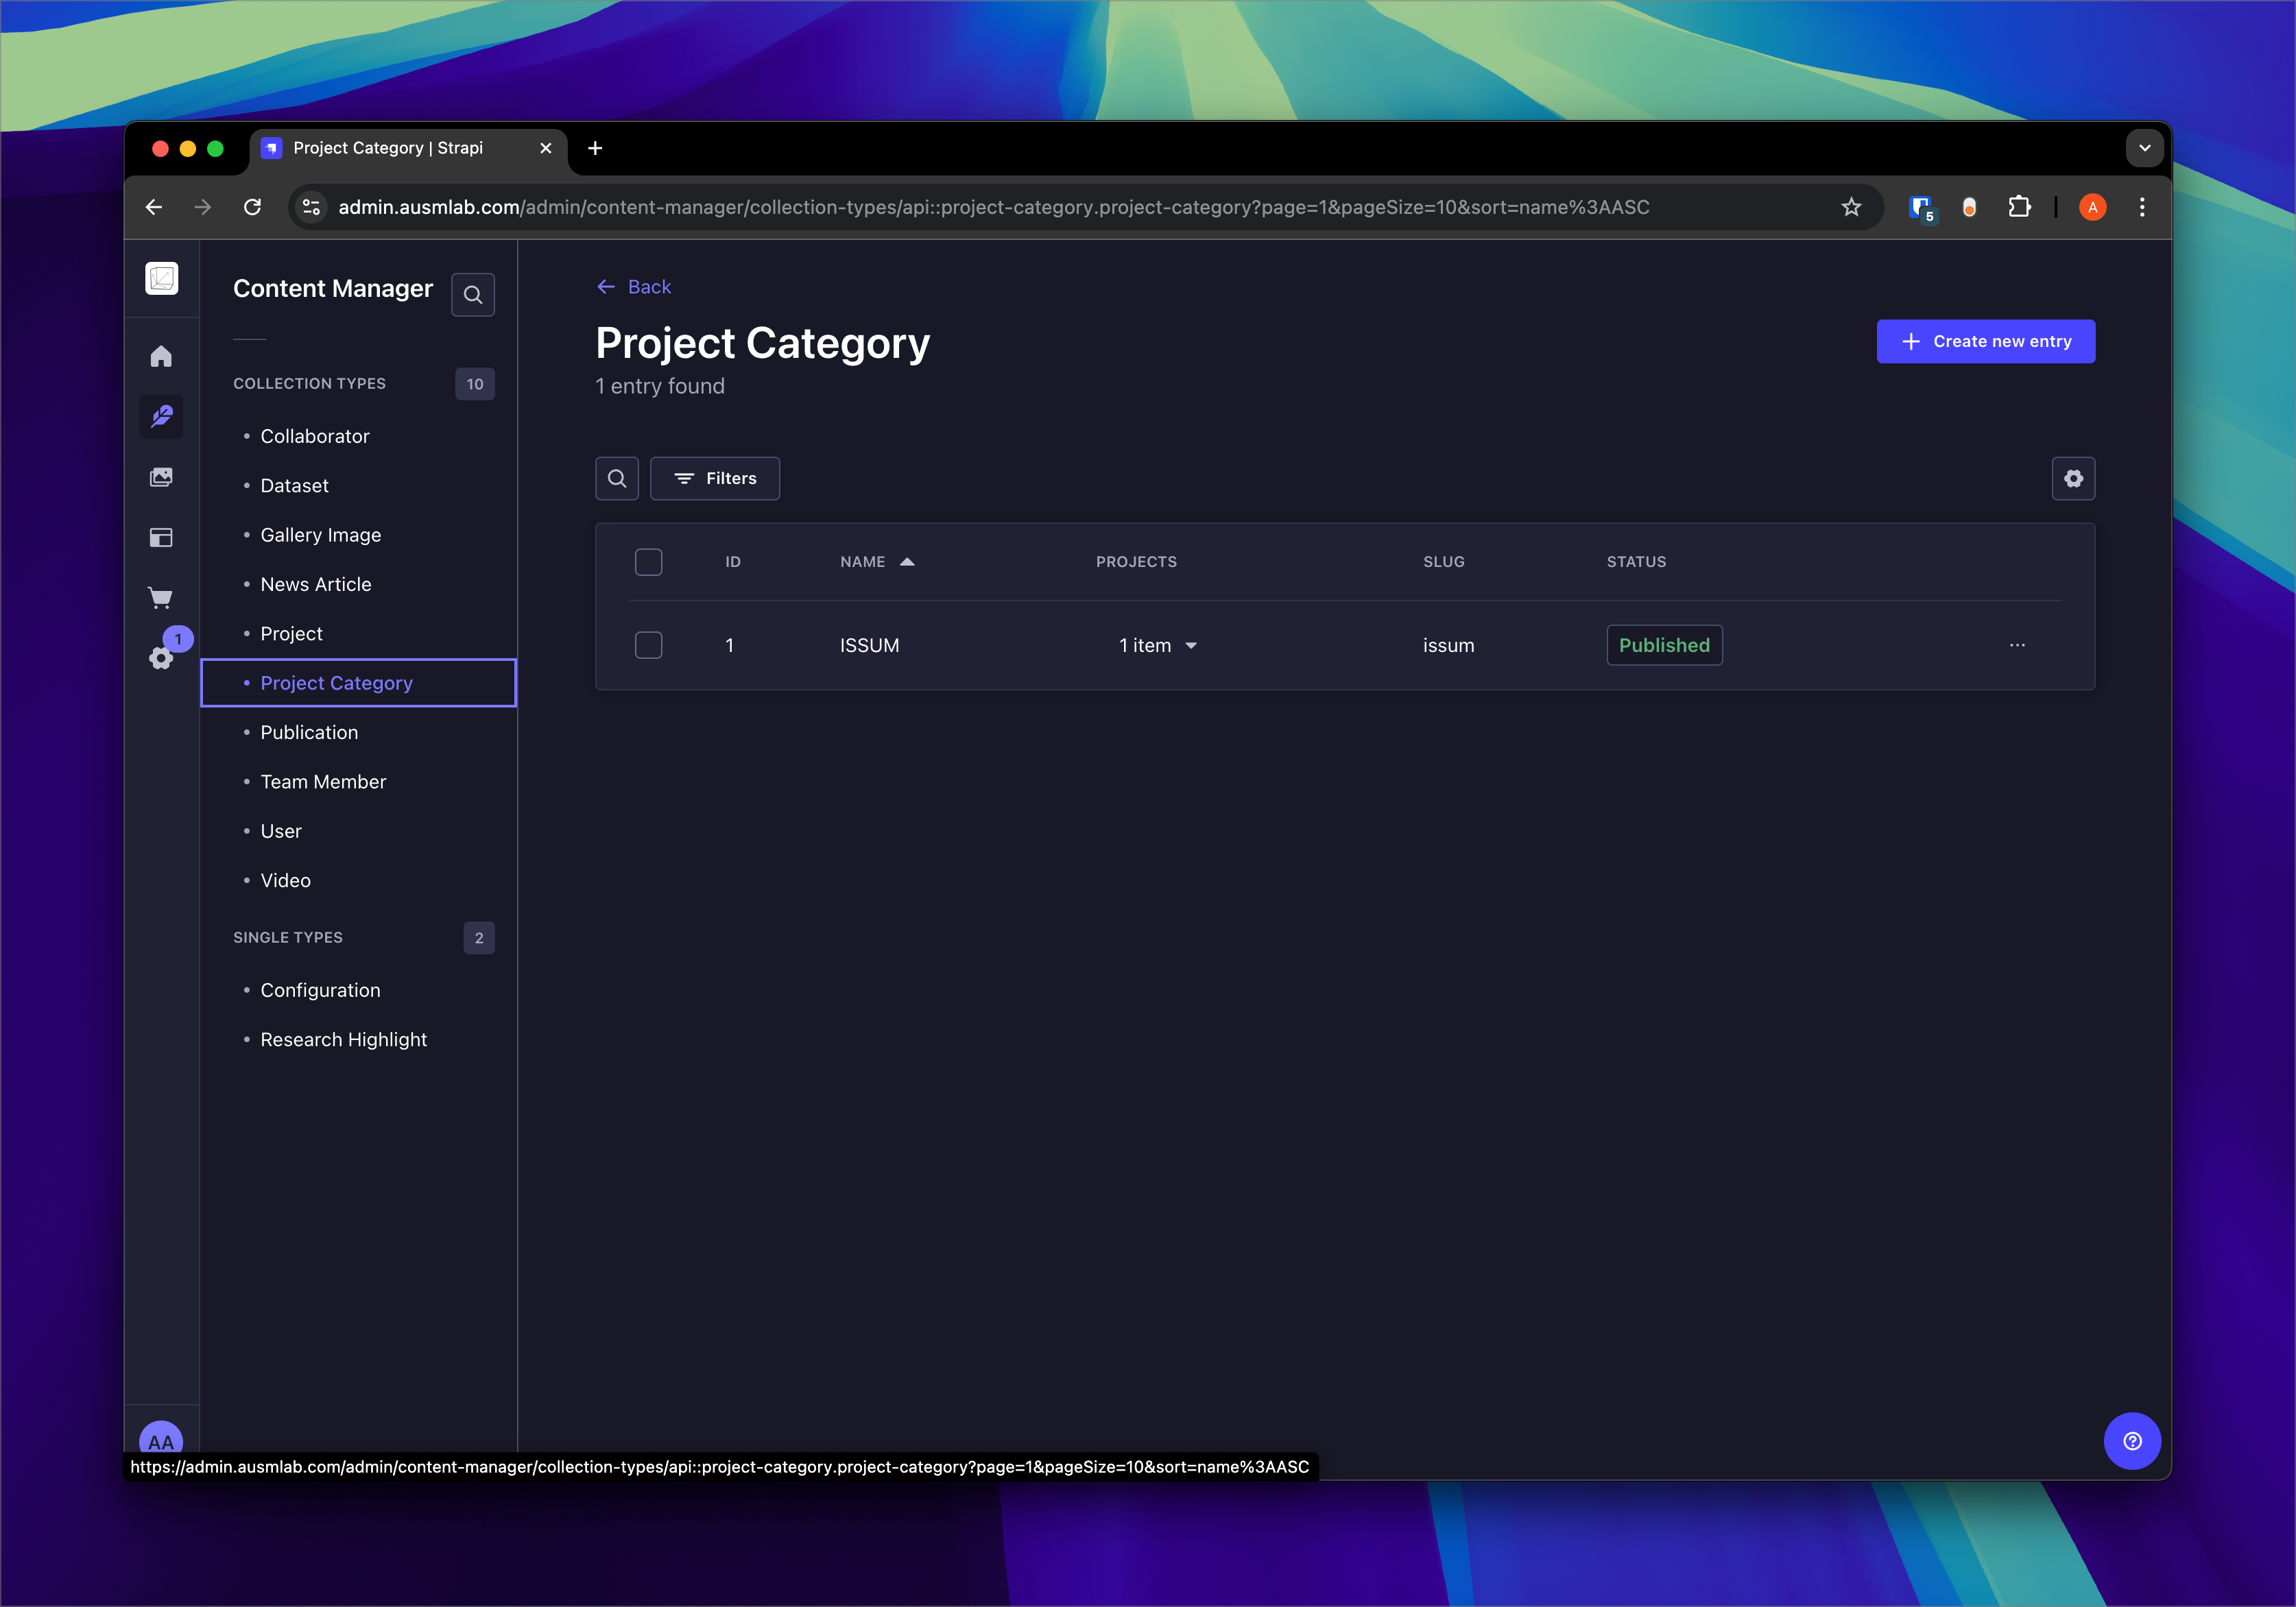
Project Category
-
Steps:
-
Go to Project Category in the Content Manager.
-
Click Create new entry.
-
Fill in:
-
Name (e.g., "ISSUM").
-
Slug (e.g., "issum").
-
-
Publish the category.
-
Publication
-
Steps:
-
Open Publication in the Content Manager.
-
Click Create new entry.
-
Fill in:
-
Title (e.g., "Wi-Fi RSS Fingerprinting for Indoor Localization").
-
Team Members (add related team members).
-
Date (select the publication date).
-
-
Publish when completed.
-

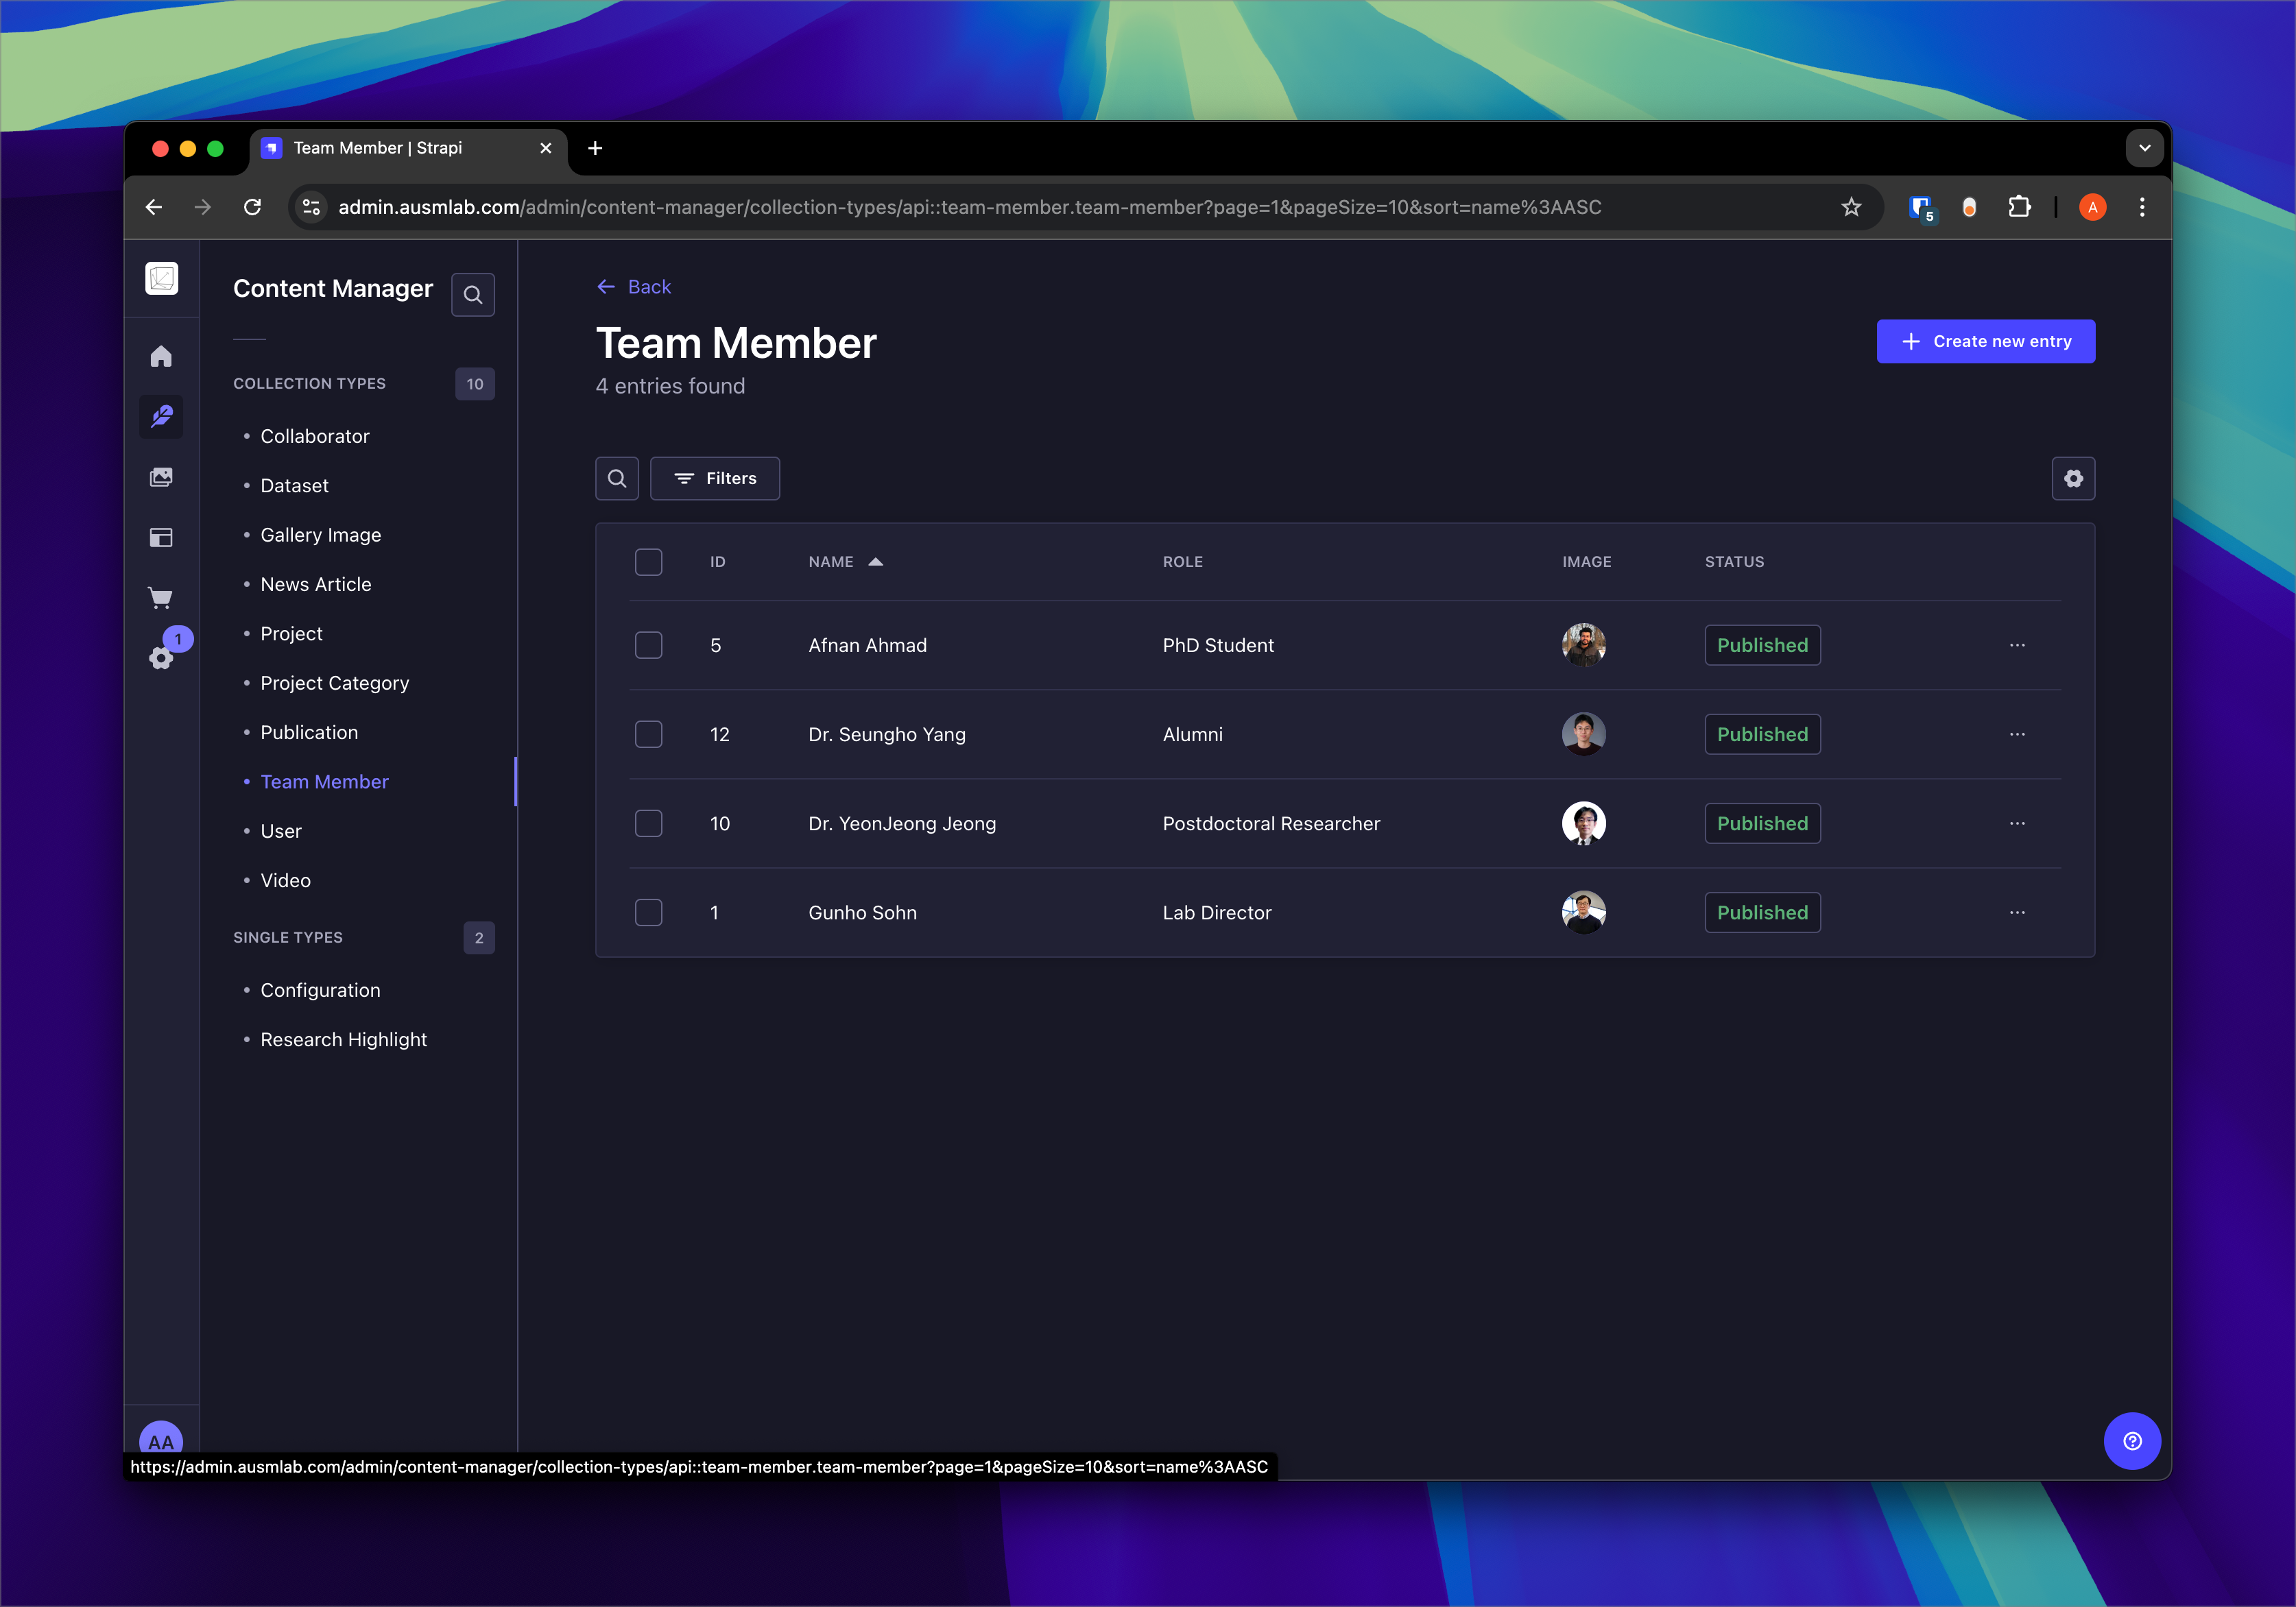
Team Member
Video
-
Steps:
-
Go to Video in the Content Manager.
-
Click Create new entry.
-
Fill in:
-
Title (e.g., "Research Overview").
-
Category (e.g., "Research Activities").
-
URL (provide the video link).
-
Thumbnail (upload an image).
-
-
Publish the video.
-
